 Before we get too deep into using the edit options, here's
a quick overview of the Report screen basics
Before we get too deep into using the edit options, here's
a quick overview of the Report screen basicsAlmost every user will find themselves in a situation where they need to make the same change over and over to a bunch of records in their database. It could be that you have ten contacts at the same company and the company moves. It could be that you had the email address in one of the phone number fields, but in hindsight, you wish you had put it in a different slot instead. The Report screen in Chaos Intellect and Time & Chaos offer some great tools to help you make these kinds of changes much quicker and more efficiently than doing it item by item by hand.
Tip: Since making mass edits can make major changes to lots of records all at once, it is a great idea to make a backup of your current data first! That way, if you don't like the changes you've made or if you make a mistake, you can quickly get back to the way it was before by restoring your backup.
Before we get too deep into using the edit options, here's
a quick overview of the Report screen basics
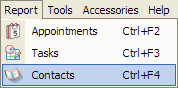
To open the report screen, look on the top menu on the main screen of the program, just to the right of File. Click on Report then choose a specific database you would like to work with: Appointments, Tasks or Contacts.
First, you can have very detailed search criteria and search for multiple things at once. Second, you can select the columns (or fields) you want to see on your results. The columns you pick can also impact the editing options available to you, so for mass editing, don't forget to check off the boxes for the fields you want to work with!
Once you have some search results displayed, you can start to make mass edits. Look for the Edit menu at the top of the Report screen, where you will find options to either Find and Replace or Swap Column Data
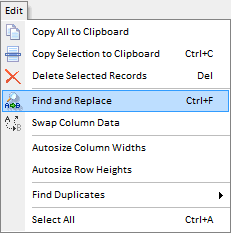
The option to Find and Replace can look in a specific column to overwrite or replace the existing data in that field with something new.
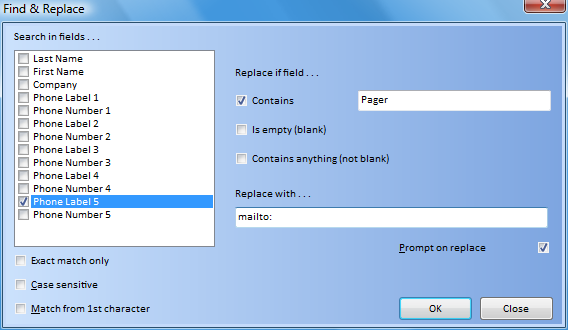
The screen shot above shows a user editing the Phone Label 8 field that contains the link to MapQuest to change the map service used in their database over to Google Maps instead. Find and Replace is often used to change Group names or to fix address fields for a bunch of records at a company which has moved.
The option to Swap Column Data can rearrange existing information without overwriting or losing any existing data. After all, nothing is getting replaced, only re-arranged.
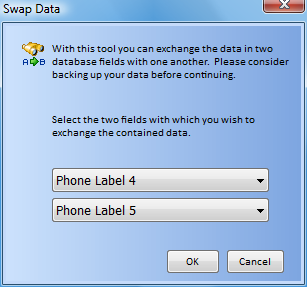
When you choose to Swap Column Data, this edit screen simply wants to know which two fields you wish to swap. You'll find that the choice of fields is limited to the same columns chosen for your report. If you can't see it on your search results, you can't swap it around, so you will have to go back and add the right columns first before doing your swap.
Tips:
This help article applies to Intellect 3