Email stationery in Intellect provides the basic look and style for the emails you send. Intellect comes with a collection of pre-built stationery, but also makes it easy to make your own.
Before you get too deep in this, please understand that stationery is NOT for content. It is more like preprinted letterhead from back in the day when printed letters were the primary means of communication.
Content for emails or newsletters should instead use other features in Intellect such as account signatures and snippets.
OK, so on to Stationery. When you create a new message, look on the toolbar at the top for the Insert Sidebar button. This button toggles on a panel on the right with tabs for Emoji, Snippets, Merge Fields and Stationery.
When you click the Stationery tab, you'll see a list with any of your custom stationeries at the top, then the built-in choices below the custom ones. As you make different selections, you'll see the look of this new message changing. Stationery can provide background images, margins, and font settings to give your messages the kind of style you are looking for.
Once you settle on a Stationery choice, Intellect will automatically remember this for the next time you use this same email account and it will continue using the same stationery for other messages for this account until you choose otherwise.
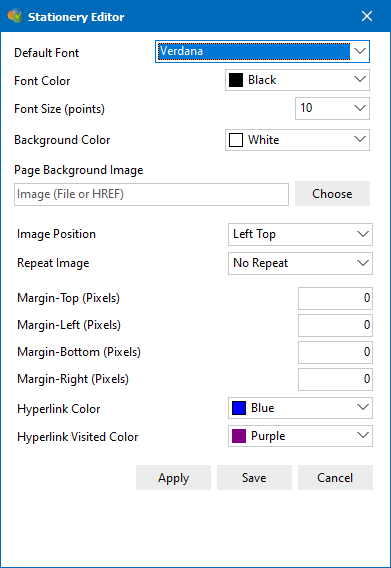
If none of the built-in choices for stationery quite fit the bill, you can make your own as well. Right click in the message body and choose "Edit Stationery". This opens a popup window where you can select the Font you want to use, the Font Color and Size.
You can also setup the background if you want it to be a certain color or even have a background graphic.
Finally you can fine tune the margins if you don't like the default ones or want to adjust for a background graphic you added.
Once you get things the way you want, click the "Apply" button at the bottom of the Stationery Editor to have these style changes applied right now. If you like the result, you can click the "Save" button and give this set of settings a name. This newly saved style will be added to the top right of the list of Stationery choices in the "Personalized Stationery" section.
This help article applies to Intellect 4 or newer